Introduction
Today we will be creating a realistic pin button in Adobe Photoshop, on which you can apply any design you like quite easily. Like most tutorials here, Ill try to spoon feed you as much as I can, so even true beginners could have a shot at it.
Note: If You Are Just Starting Out With Adobe Photoshop, And Have A Hard Time Following The Basics Presented In This Tutorial. Consider Going Through Our Adobe Photoshop Essentials Series, Before You Dive In To More Advanced Material.
Preview

Download Assets
Step 1
Before we create our main document, you will need to download the following pattern from Subtle Patterns. Once done, open the main file (Vertical_cloth.Png) with Photoshop. From this texture now we are going to define a pattern, and we will do this by going to Edit / Define Pattern, name your pattern and click ok. Feel free to close this document now, since we are all done with defining the pattern.
Step 2
Now create a new document with size 730 by 419 pixels at 72dpi, then create a new layer name it Bg and fill it with any color.
Step 3
Open the blending options menu of the Bg layer by right clicking on it, and selecting blending options. On the left hand side click on the Pattern Overlay, then click on the pattern image. Now you should be presented with few patterns, and most likely the last pattern will be the one we just defined, if not find the pattern we created in the earlier step click on it, and then click ok. Now we have the pattern repeating all over our background.

Step 4
Now create a new layer and select the Ellipse Tool, since we will be making a shape in the form of circle now. With the new layer active, and the Ellipse Tool in hand, click and hold anywhere on the canvas then press and hold shift and finally drag, this way you will create a perfect circle.

Step 5
Change the Fill of the shape layer to 0%, then open the blending options apply the following styles:


This is what you should get once you have added all the styles:

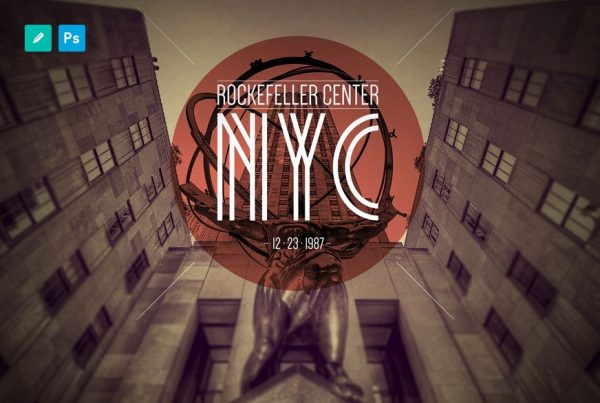
Step 6
All we are left to do is to add a design inside the pin button. Find an image you think its suitable and scale it appropriately. Place the design layer just bellow the button layer, so the effects we applied on the button are visible. You can make a cut out of the design layer without much trouble, by holding Ctrl and clicking on the button layer on the layer palette, this should automatically create a selection around the button.
Now select the Marquee Tool activate the design layer by clicking on it once, and simply press Ctrl+C and Ctrl+V. Feel free to delete the original design layer, since we have a perfect cut out of the design.
Final Product
Conclusion
We are all done for now and you have e nice little pin button, but that does not mean you should stop there. You can further enhance the design by adding additional highlights and shadows. Im not going to give you the exact steps of how to do this, so you would experiment by your self also download the Psd File and examine it.
In order to add a simple highlight make an elliptic selection with the marquee tool, and with the gradient tool set from white to transparent fill the selection on a new layer. Now place the highlight some where around the top of the button. Also you can repeat the process in order to create a shadow, just use a gradient from black to transparent, and place it around the bottom.
Similar Posts